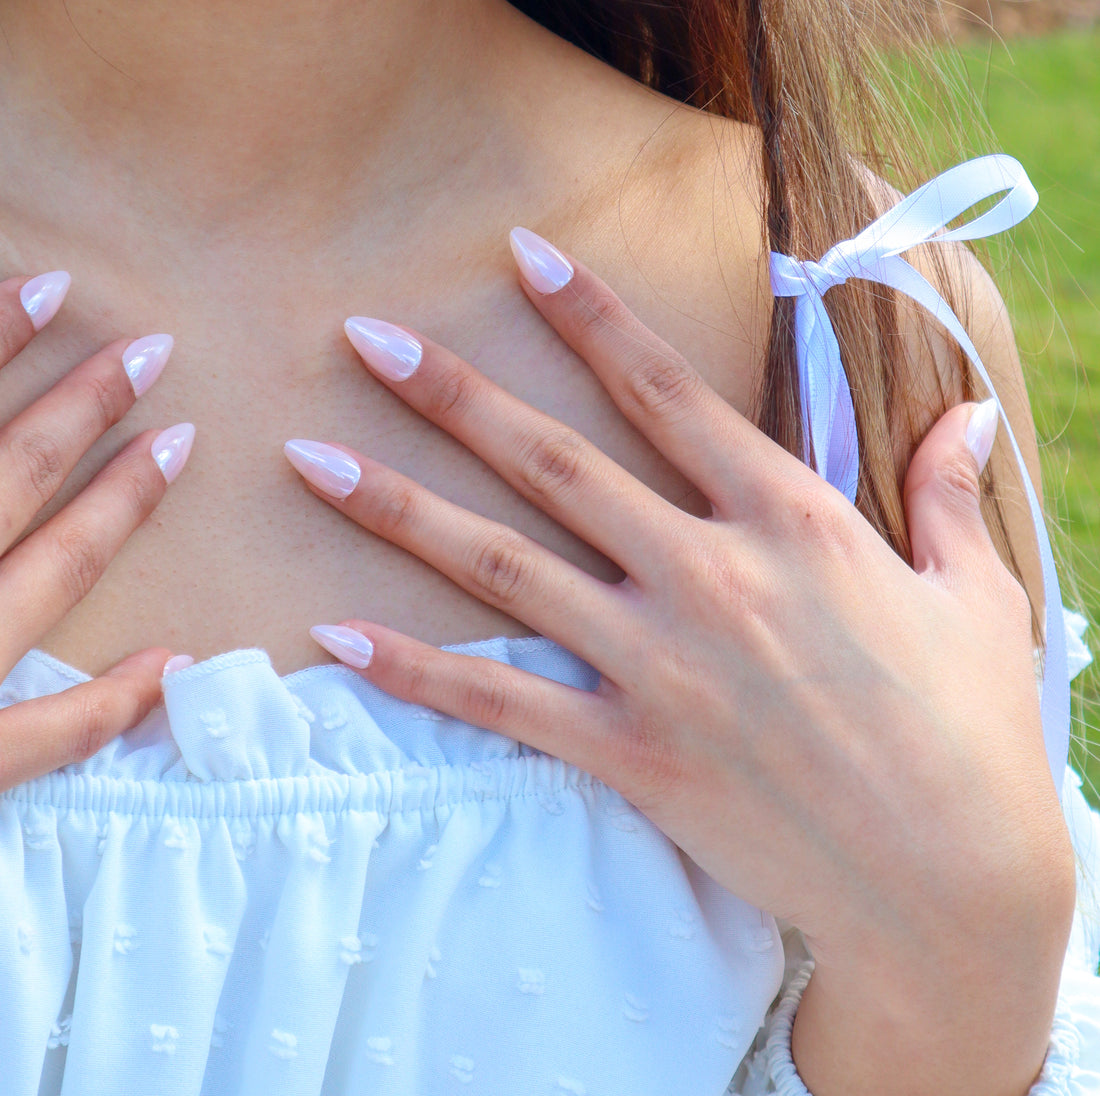
How-To Apply your nails:
Share
Stressed? Confused? Don’t worry, this is a step to step guide on how to apply your press on nails!
No need to find time for a booking at your nail salon and wait 2 hours for your arcylics, apply them at home in only 10 minutes!
Step #1 Choose your adhesive
There are two types of adhesives that come in the kit that you can choose from.
A) Gel Glue: Short‑Term Wear (2‑4 Days)
For each of your nail beds, choose the gel glue that is the right size, then peel it from the plastic sheet and place it onto your natural nail. Press down on the glue for 10 seconds and then repeat this process for all of your nails.
Tip: It doesn’t matter if the glue is to big or small for your nail. Once the glue is completely dry you can just peel of the extra plastic and it will look gorgeous!
B) Liquid Glue: Long Term Wear (2 ‑ 3 weeks).
Apply a generous amount of liquid glue to your natural nails and a small amount onto the nail, make sure not to flood your nails with glue because it might not stick properly. Be careful not to apply the glue to your fingertips as it does bond quickly.
Step #2 Find the right size nail
All of our nails are number to make it easier for you! Once you’ve found the right size, you can find the same nail for your other hand by looking at the number. Repeat this for all of your nails and then get ready to apply!
Step #3 PRESS on your nails
Apply your set of Nail For A Night nails on the angle wear it looks nice and feels comfortable and press down firmly on a 45* angle, back to front for 10‑20 seconds on each nail to ensure a smooth apply. Make sure to remove all air bubbles upon application.
Tips:
1. Avoid washing your hands in water for at least 2 hours after application. This ensures that the glue will last for a longer wear.
2. When applying your press on nails, start from back to front. This helps to remove or conceal air bubbles upon application.
3. Read our previous blog post about how to prep your nails for application for the best results!
